
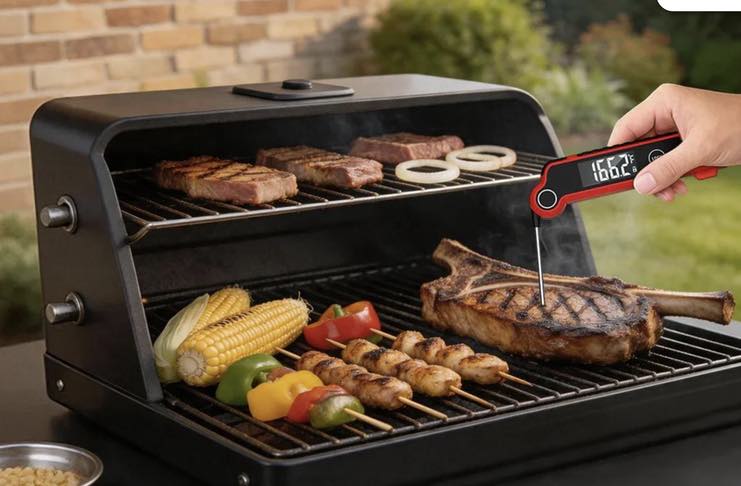
You know how much we love meat at NYSF, so we always get Pro tips from the chefs we meet at each restaurant we review. Learning to cook at home is an exciting journey, but preparing meat for the first time can feel surprisingly stressful. If you’ve ever found yourself nervously staring at a chicken breast in a skillet, wondering whether it’s rubbery and overcooked or undercooked and unsafe, you are definitely not alone.
Cooking meat requires precision. Fortunately, you don’t need years of culinary school to serve delicious, juicy, and perfectly cooked meals every night. All you need is a basic understanding of meat safety and one essential kitchen gadget: an instant-read food thermometer.
In this guide, we’ll break down common beginner cooking mistakes, explain how internal temperature works, and introduce the ultimate beginner-friendly tool to guarantee kitchen success every time.
Why Does Cooking Meat Feel So Hard for Beginners?
When you’re just starting out in the kitchen, cooking meat comes with a few major hurdles:
The Fear of Foodborne Illness
Undercooked poultry or pork can harbor dangerous bacteria like Salmonella or E. coli. Because food safety is top of mind, many beginners default to overcooking their meat just to “be safe.” The result? A plate full of dry, chewy, and flavorless protein.
Unreliable Visual Cues
Many recipe tutorials tell you to check doneness by looking at the color of the meat juices or pressing down on a steak with your thumb (the “poke test”). However, color and firmness can be deceiving depending on the cut, cooking method, and pan heat. Guessing by eye leads to unpredictable results.
Ruining Expensive Cuts of Meat
Groceries aren’t cheap. Slicing open a nice steak while it’s still in the pan to check if the center is pink ruins the presentation and lets out all the rich, delicious juices you wanted to keep inside.
Essential Rules for Cooking Meat Perfectly
To boost your cooking confidence and keep your meals restaurant-quality, keep these three golden rules in mind:
Cook to Temperature, Not Time
Recipe times like “cook 5 minutes per side” are only general estimates. Stovetop heat variations and meat thickness change everything. Always rely on internal temperature.
Know Your USDA Target Temps:
- Chicken & Turkey: 165°F (74°C)
- Ground Beef/Pork: 160°F (71°C)
- Beef, Pork, & Lamb Steaks/Chops: 145°F (63°C) with a 3-minute rest
Factor in Carryover Cooking:
Meat continues to rise in temperature by 3°F to 5°F after you take it off the heat. Pull your meat off the skillet or out of the oven just a few degrees shy of your target to avoid overcooking.
Why an Instant-read Thermometer Is the Ultimate Tool for Beginner Cooks
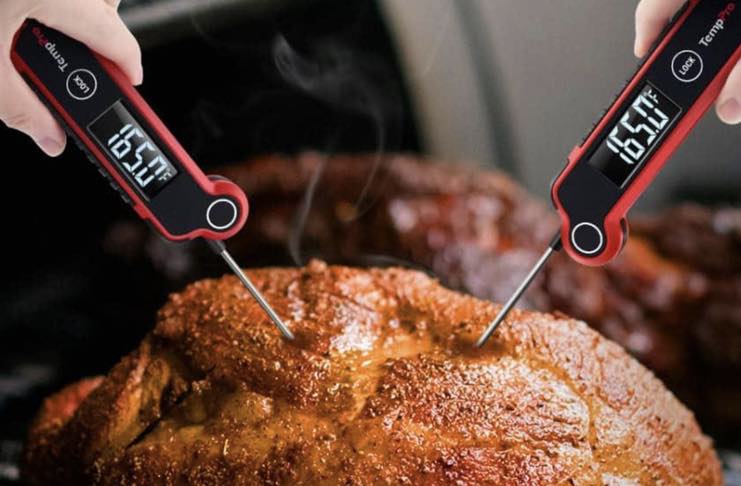
If you want to eliminate kitchen anxiety overnight, an instant-read thermometer is your best investment. The TempPro TP620 Thermometer, for example, is specifically designed with features that make cooking effortless, foolproof, and fast for kitchen newcomers.

Beginner-Friendly Features You’ll Love in a Good Meat Thermometer:
- Lightning-Fast & Precise Readings: Delivers accurate temperature readings in just 0.5 second with an accuracy of ±0.9°F. You won’t have to hold your hands over a hot pan for long to get a quick answer.
- 180°Auto-Rotating Backlit Display: No matter which hand you use or what angle you hold the food thermometer, the screen automatically flips right-side up. The bright LCD backlight makes reading temperatures easy, even inside a dark oven or under outdoor patio lights.
- Motion-Sensing Smart Power: Beginners often forget to turn off kitchen gadgets. The meat thermometer automatically turns on when you unfold the probe and sleeps when closed. It also features motion sensing, waking up as soon as you pick it up!
- IP65 Rated Waterproof: The thermometer can be rinsed directly under running tap water without worrying about water damage, making cleanup completely stress-free.
- Built-in Temperature Guide: Never forget safe target temperatures again; the back of the food thermometer includes a convenient USDA reference chart so you don’t have to stop cooking to search on your phone.
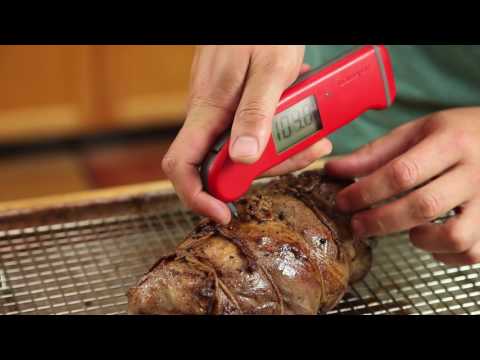
Watch this video to learn some more useful tips on how to use the meat thermometer the right way;
FAQs about Cooking Meat with an Instant-Read Meat Thermometer
Q1: Where should I insert the thermometer probe into the meat?
For the most accurate reading, insert the tip of the probe into the thickest part of the meat, avoiding bone, fat, or gristle. For burgers or thin chicken cutlets, insert the probe horizontally through the side into the center.
Q2: Is an instant-read thermometer the same as a leave-in probe thermometer?
No. An instant-read thermometer is meant for quick spot-checks. You insert it, get a reading, and remove it. Do not leave it inside a closed oven or grill during the entire cooking process.
Q3: How do I calibrate my meat thermometer to check if it’s accurate?
Place the probe into a glass filled with crushed ice and cold water (stirred well). If it reads 32°F (0°C), your thermometer is perfectly calibrated!
Final Thoughts
Cooking meat doesn’t have to feel like a high-stakes guessing game. By switching from visual guesswork to temperature-based cooking, you’ll instantly elevate your meals and gain confidence in the kitchen. Equipping your drawer with a fast, reliable Instant-Read Meat Thermometer ensures that every meal you serve is safe, tender, and delicious!